"Category" is used to name for one of expenses/ incomes that we regularly use in our daily lives. Examples include Food & Beverage, Shopping, Education, Entertainment, etc.
Below is a detailed guide on how to set up and use categories in Money Lover, especially with some changes in version 8.0.
I. Managing categories
In version 8.0, you can view and manage all your categories by going to the "Account" tab and selecting "Categories".
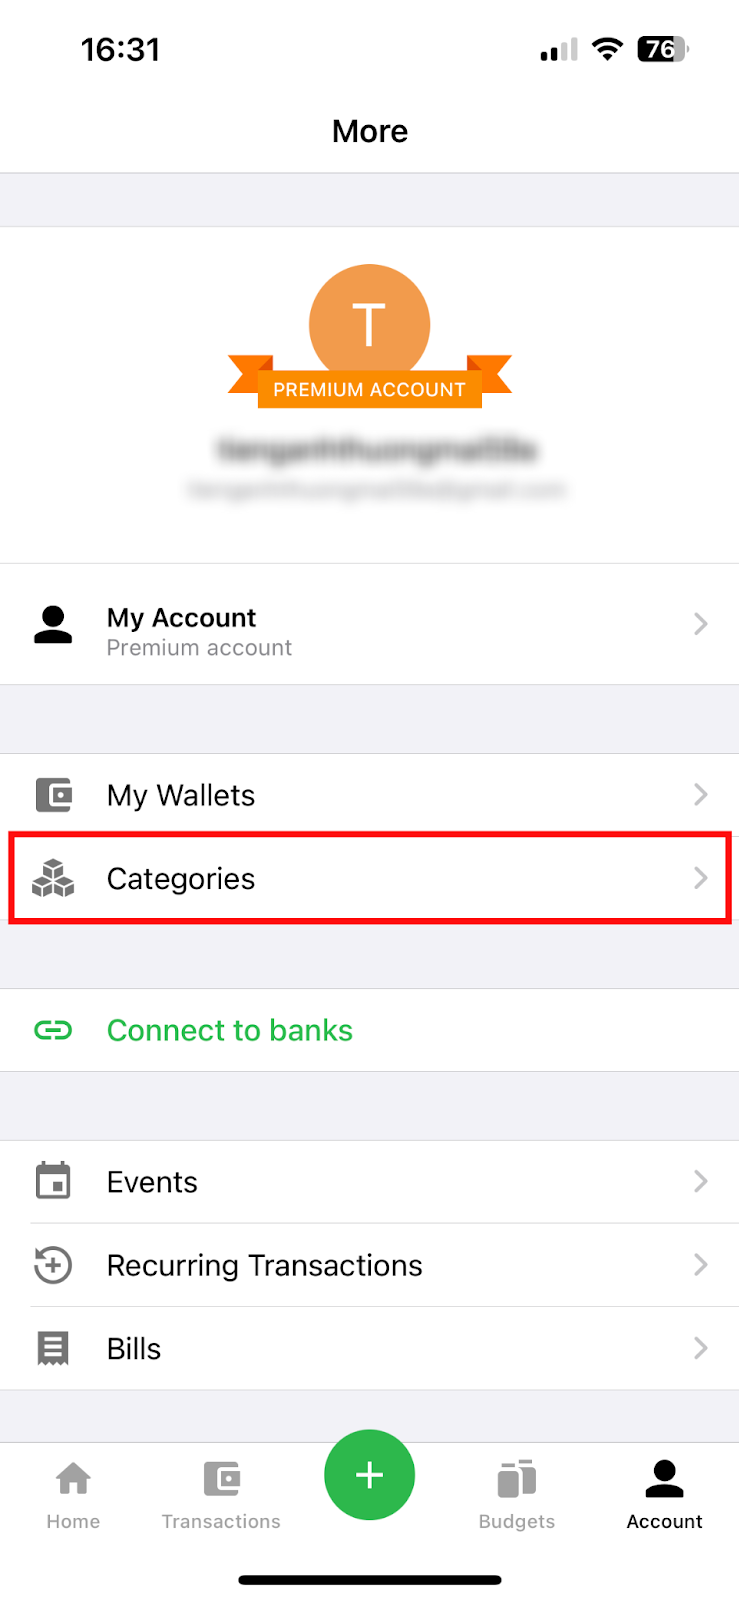
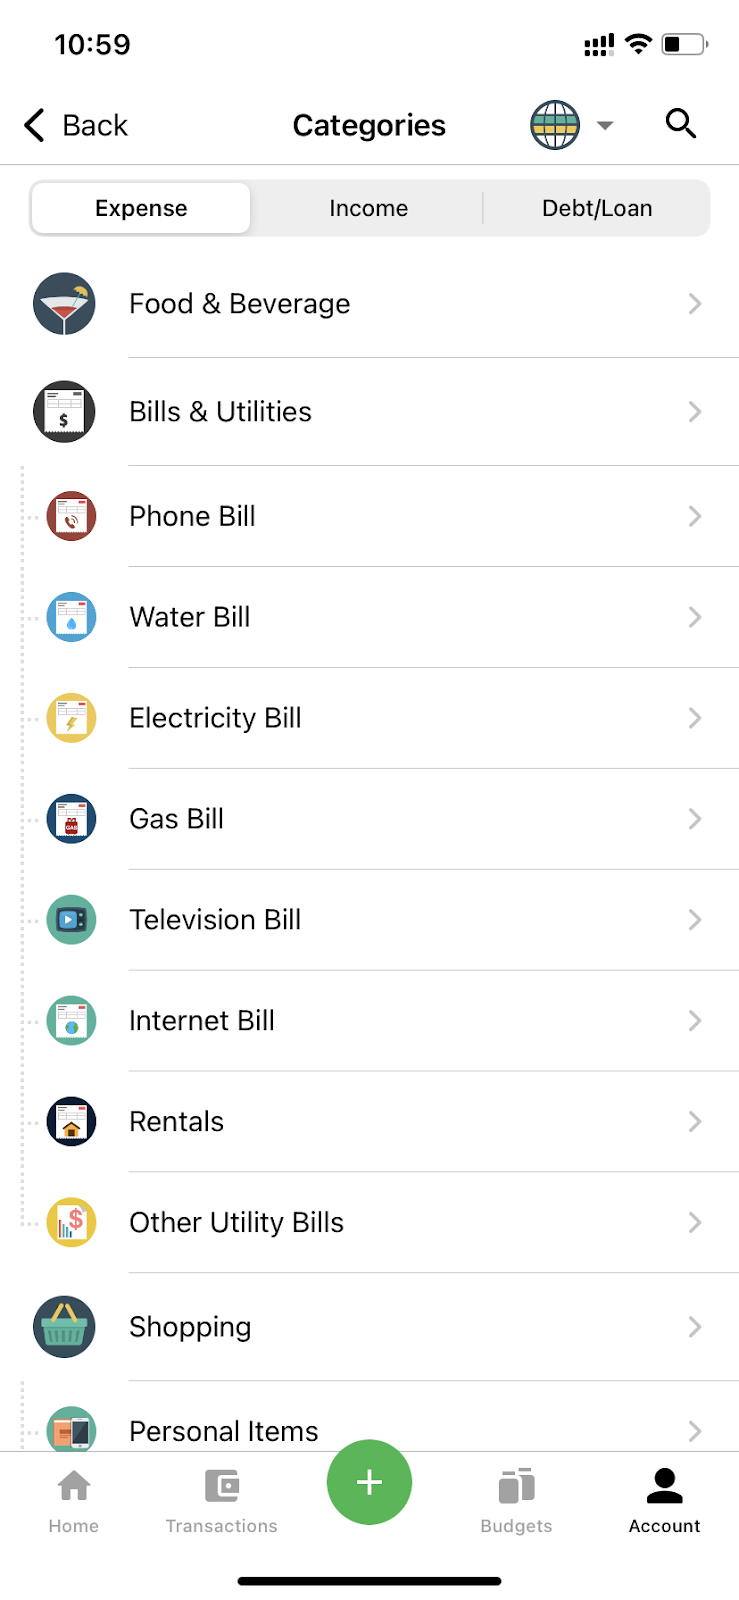
After that, click on "Categories" bar to see the categories list arranged by different purposes of use: Expense, Income, Debt/Loan.
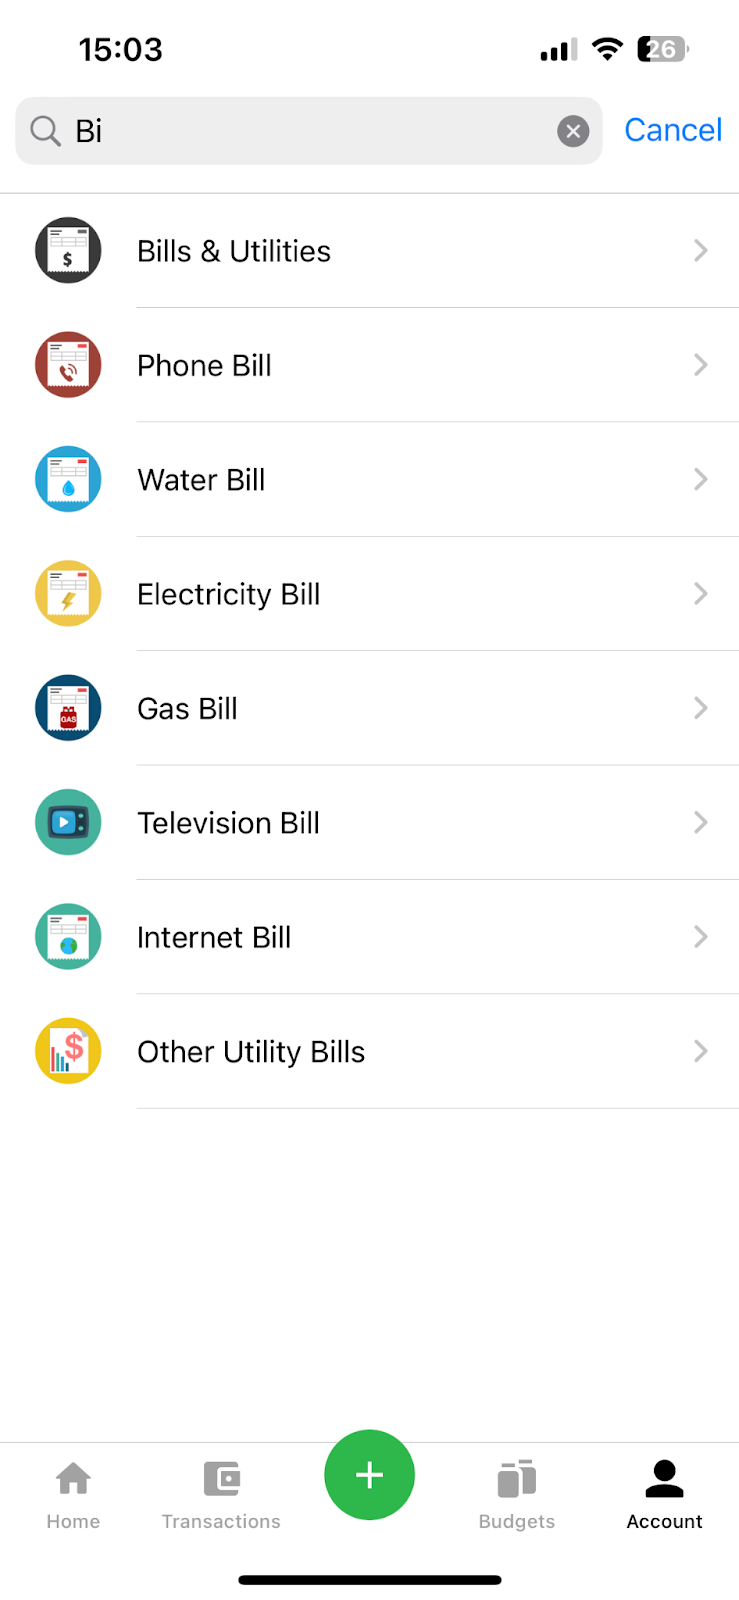
You can also quickly search for categories by entering their names in the search bar.
II. Creating new categories
In addition to the default categories, you can create new categories in two ways:
- Method 1: From the "Account" tab, select "Categories", click to open the category management screen (similar to the instructions in Section I). Scroll down and select the "New category" button.
- Method 2: In the Category Selection screen (when performing functions like creating a transaction, setting a budget, creating an invoice, or setting a recurring transaction...), choose the "New category" button.
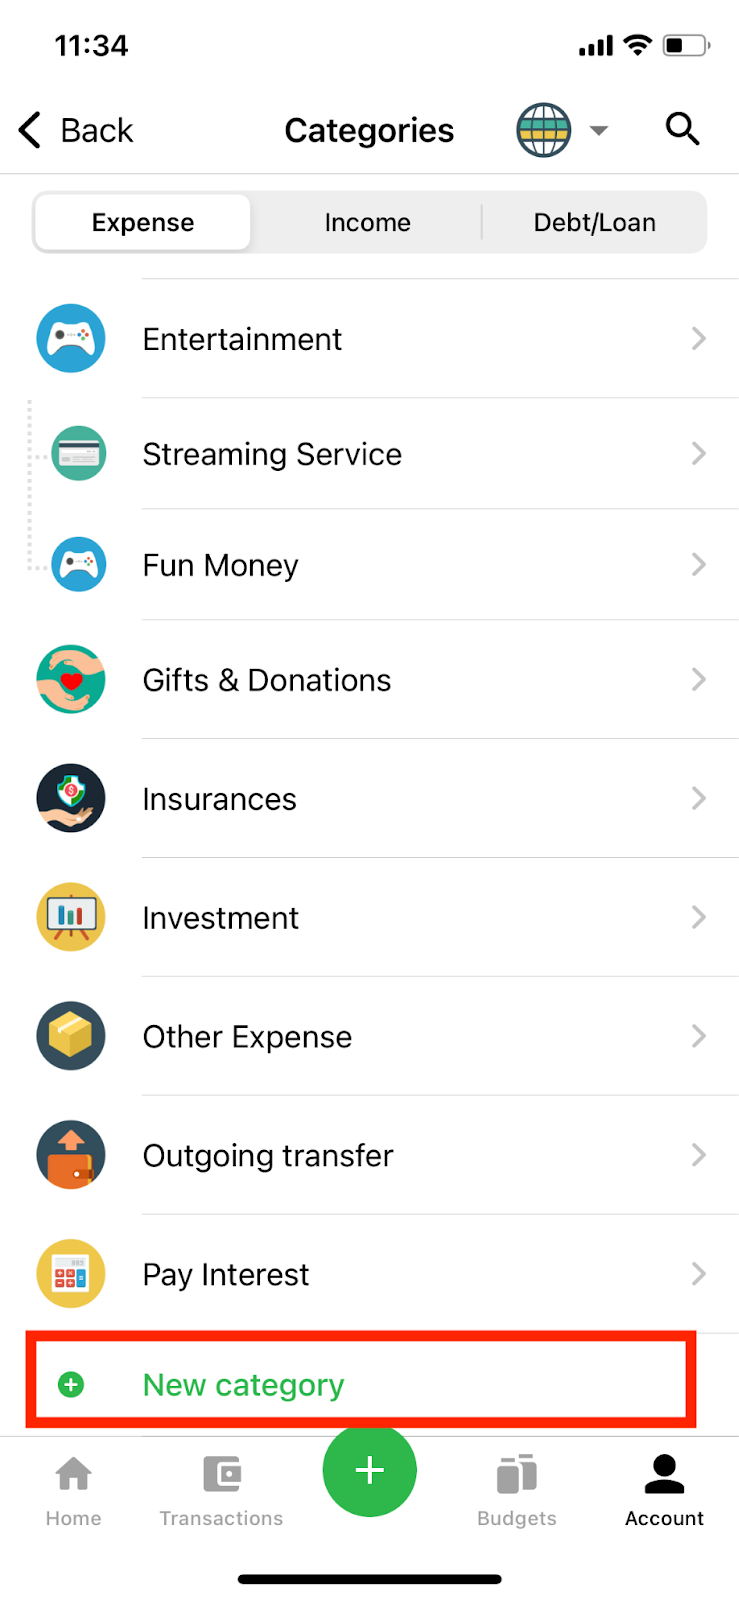
Scroll down to see the button for creating a new category.
Step 2: Fill out information in the "New Category" screen
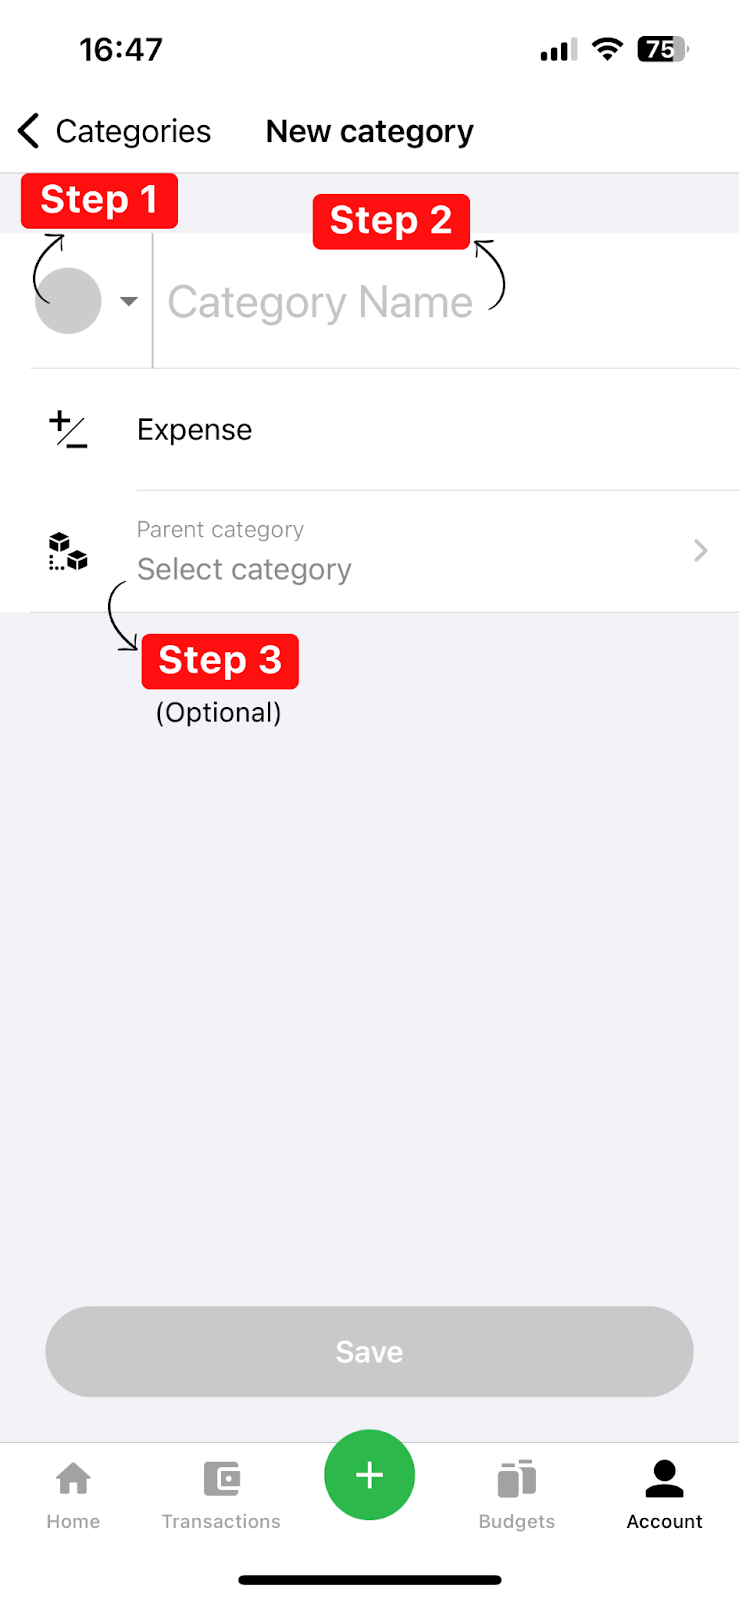
After clicking to create a new category, a new category screen will appear. At this point, you'll need to:
+) Choose an icon to represent the category.
+) Enter the name of the category you want to create.
+) Choose a parent category for the newly created category (if you want). For example, if the new category is "Breakfast," the parent category could be "Food & Beverage".
Note:
+) If you want to create an expense category, you should go to the "Expense" tab first before creating a new category. Similarly, for income categories, go to the "Income" tab.
+) The new category you create will be active by default in all current wallets you have.
Step 3: Save the new category information
After filling in all the information for the new category, the "Save" button will light up. At this point, click it, and all the information for the newly created category will be saved.
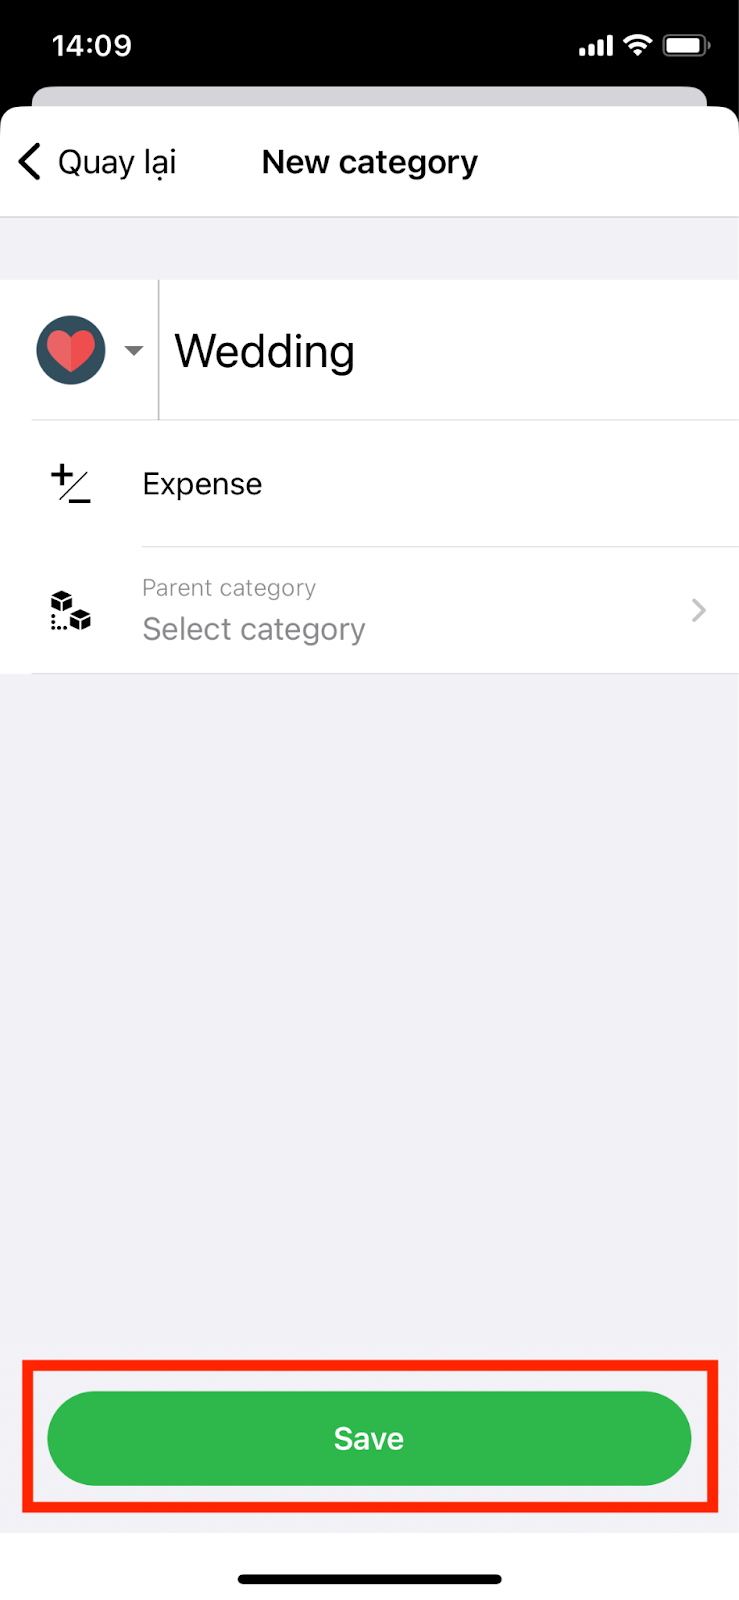
Click "save" button to save the information.
Step 4: Check the information for the newly created category
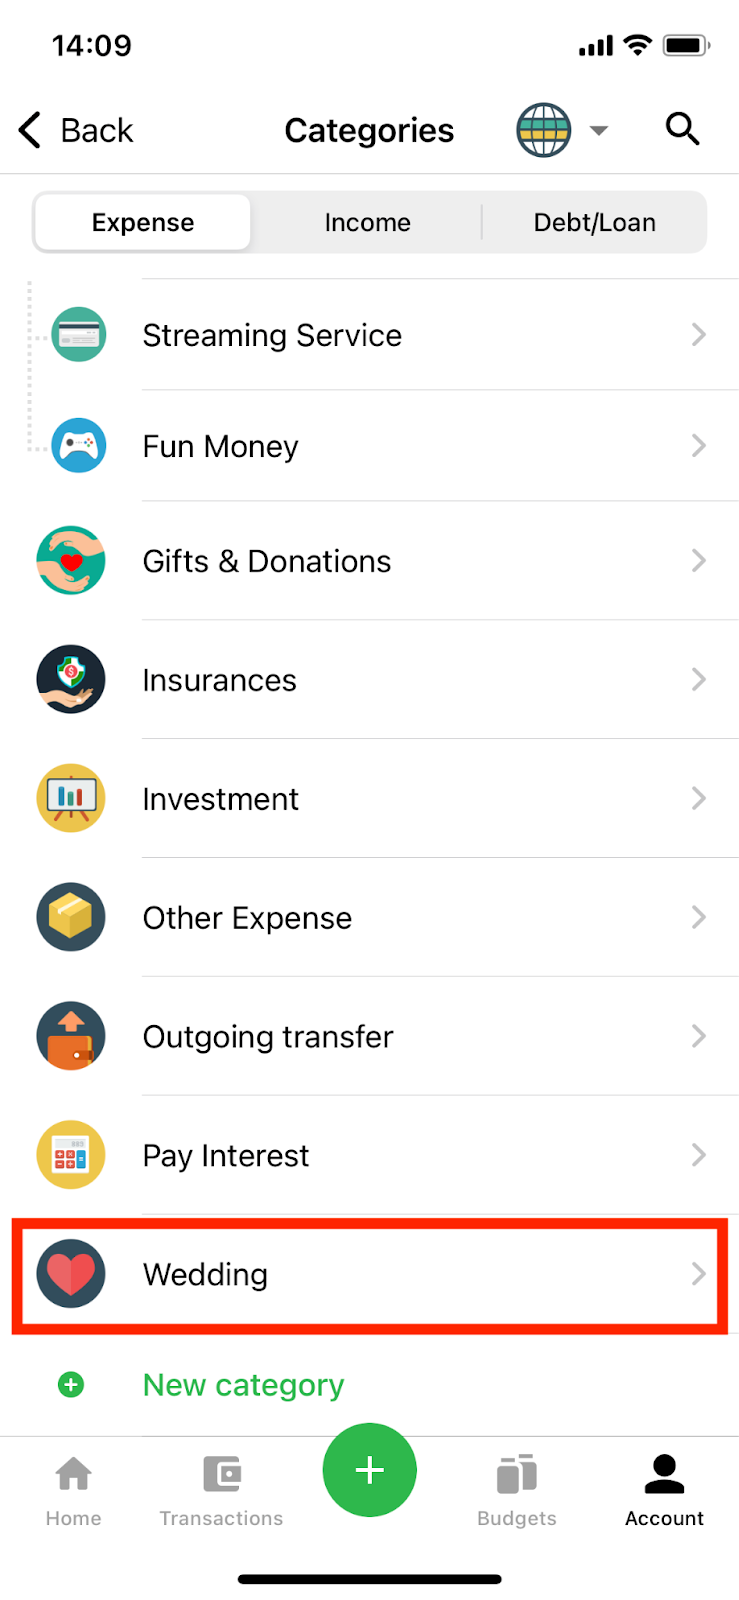
After successfully saving, the newly created category will appear at the end of the list of categories.
III. Editing Categories
For existing categories, you can edit them as follows:
Step 1: Select the category you want to edit
At the Categories screen, click on the category you want to edit.
At this point, the app will display the Edit Category screen.
Step 2: Edit category information
In the Edit Category screen, you can edit one or all of the following information:
+) Choose "Category Name" if you want to change the name of the category you've created.
+) Choose "Icon" if you want to change the icon representing the category.
+) Choose "Parent Category" if you want to change/add/remove the parent category.
You can edit any information of the category
Step 3: Save the edited category information
When any piece of information is edited, the "Save" button will light up. You can now select the "Save" button to save the edited category information.
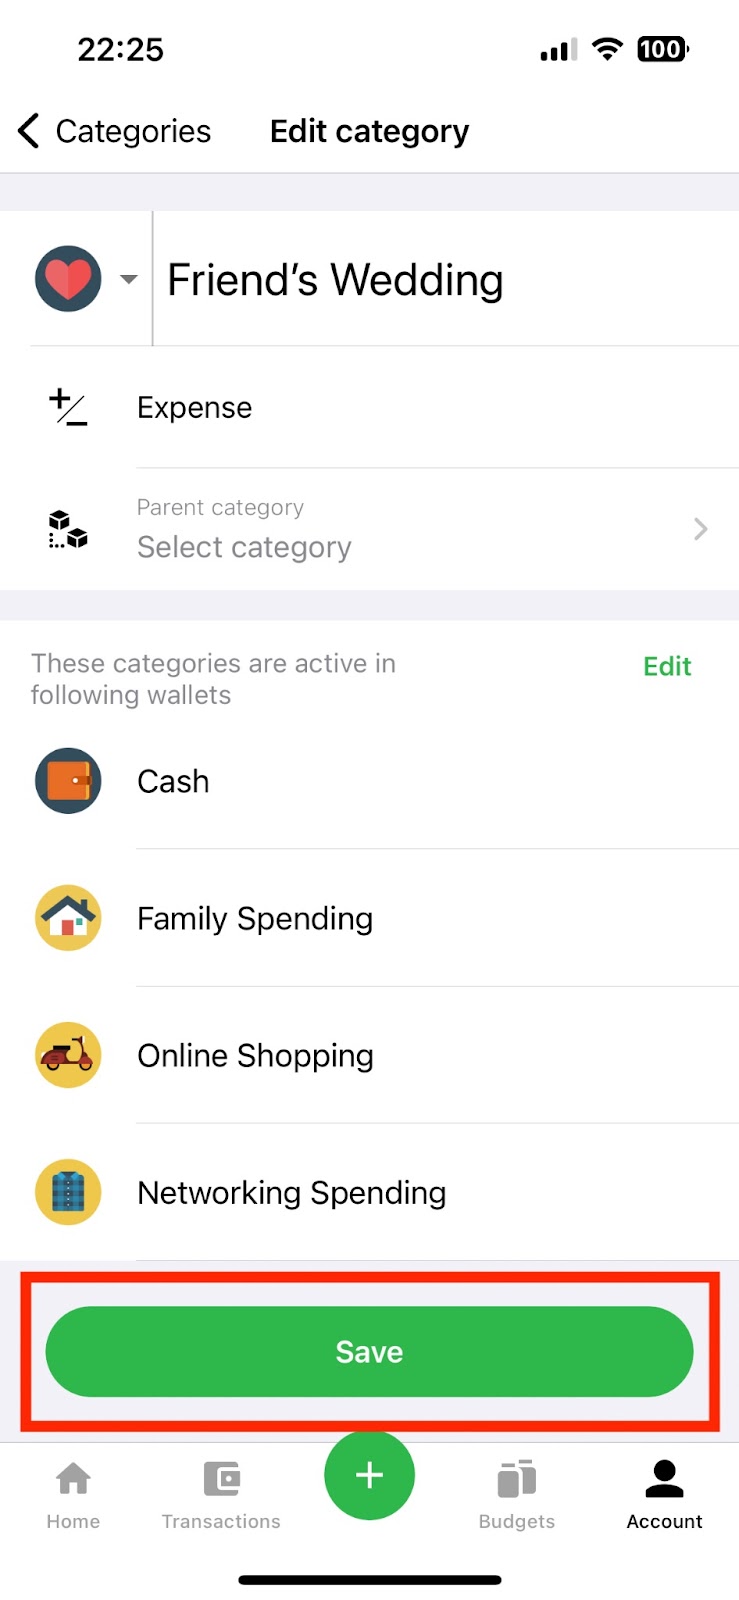
Tap "Save" button to save the newly edited information of the category.
Step 4: Check the successfully edited category
After successfully editing category information, the app will display the Category Management screen with a successful edit notification. The category with edited information will still be displayed on the Category Management screen.
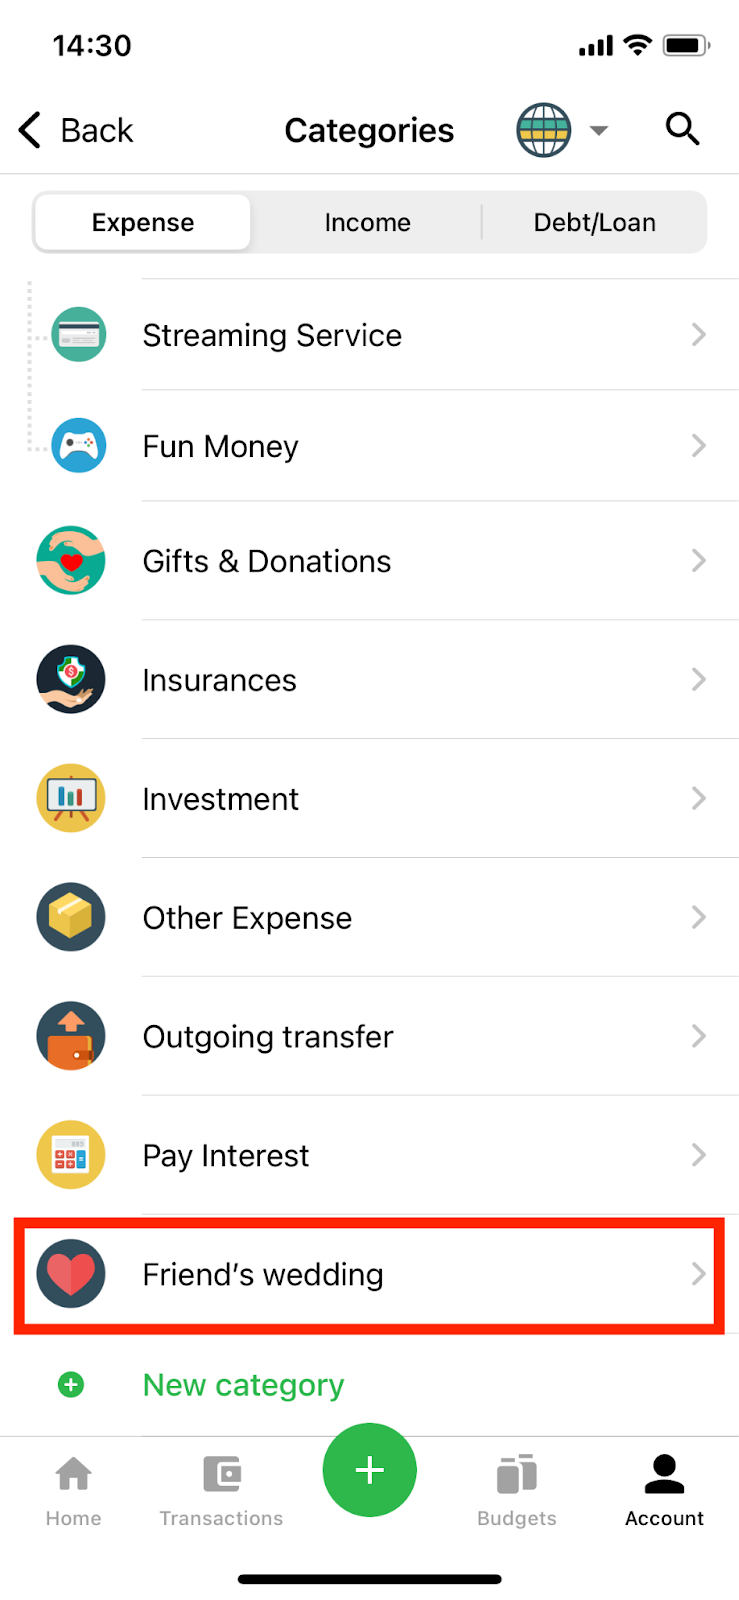
The edited category remains the same position as the previous one in the Categories management list.
IV. Active wallets of the category
In addition to changing category information such as category name, category icon, and parent category, you can also change the active/inactive status of that category in the wallets you have.
If a category is not active in any wallet, that category will not appear on the category selection screen when creating a transaction. In other words, you won't be able to create a transaction for that category in that wallet. For example, if you have a category called 'Shopping Abroad' and you deactivate it in your work wallet, you won't be able to add a transaction and select the 'Shopping Abroad' category while using your work wallet.
To change the status of the wallets within a category, you may do as follows.
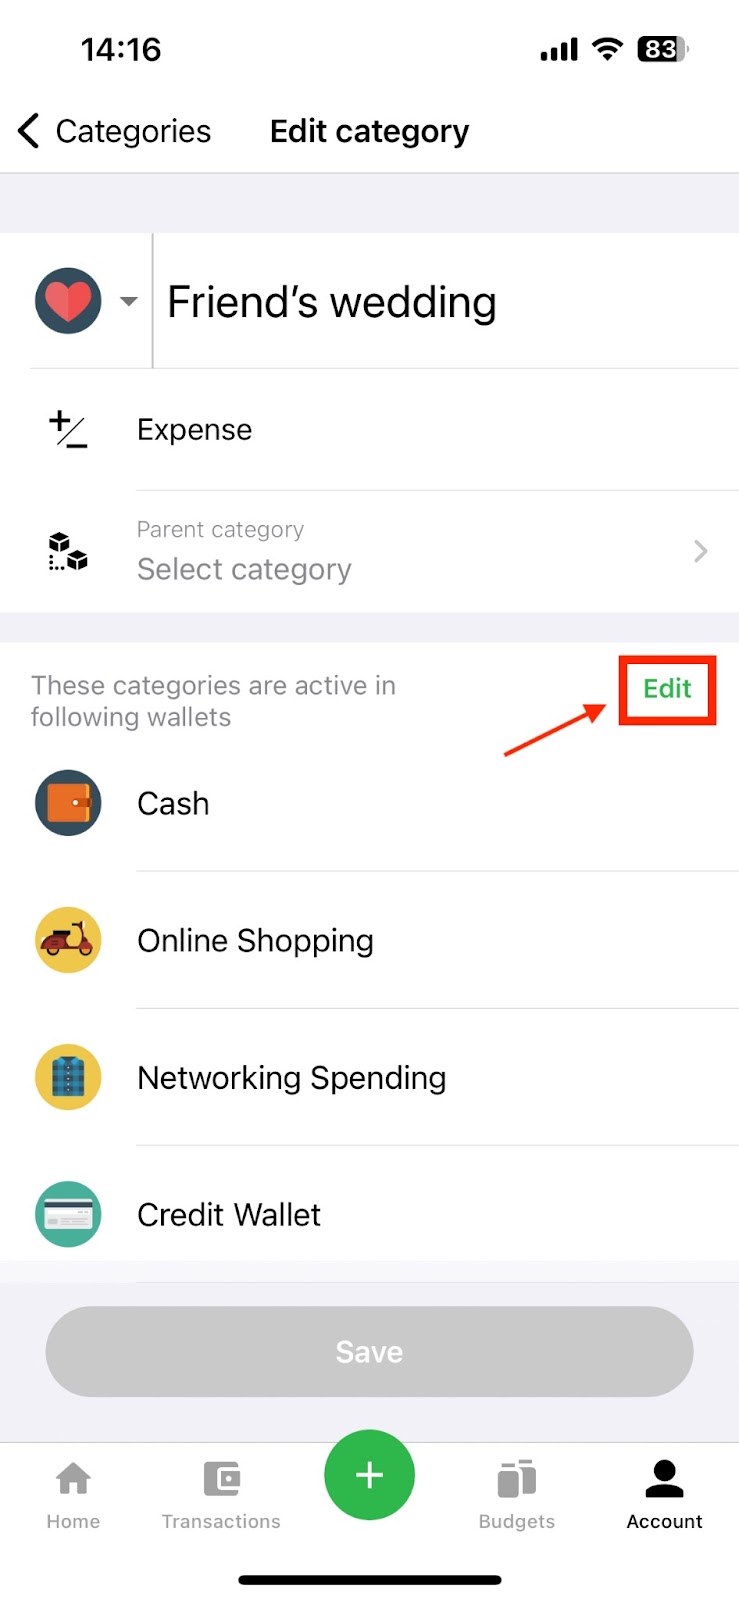
Step 1: Select the "Edit" button for the wallet in the Edit Category screen
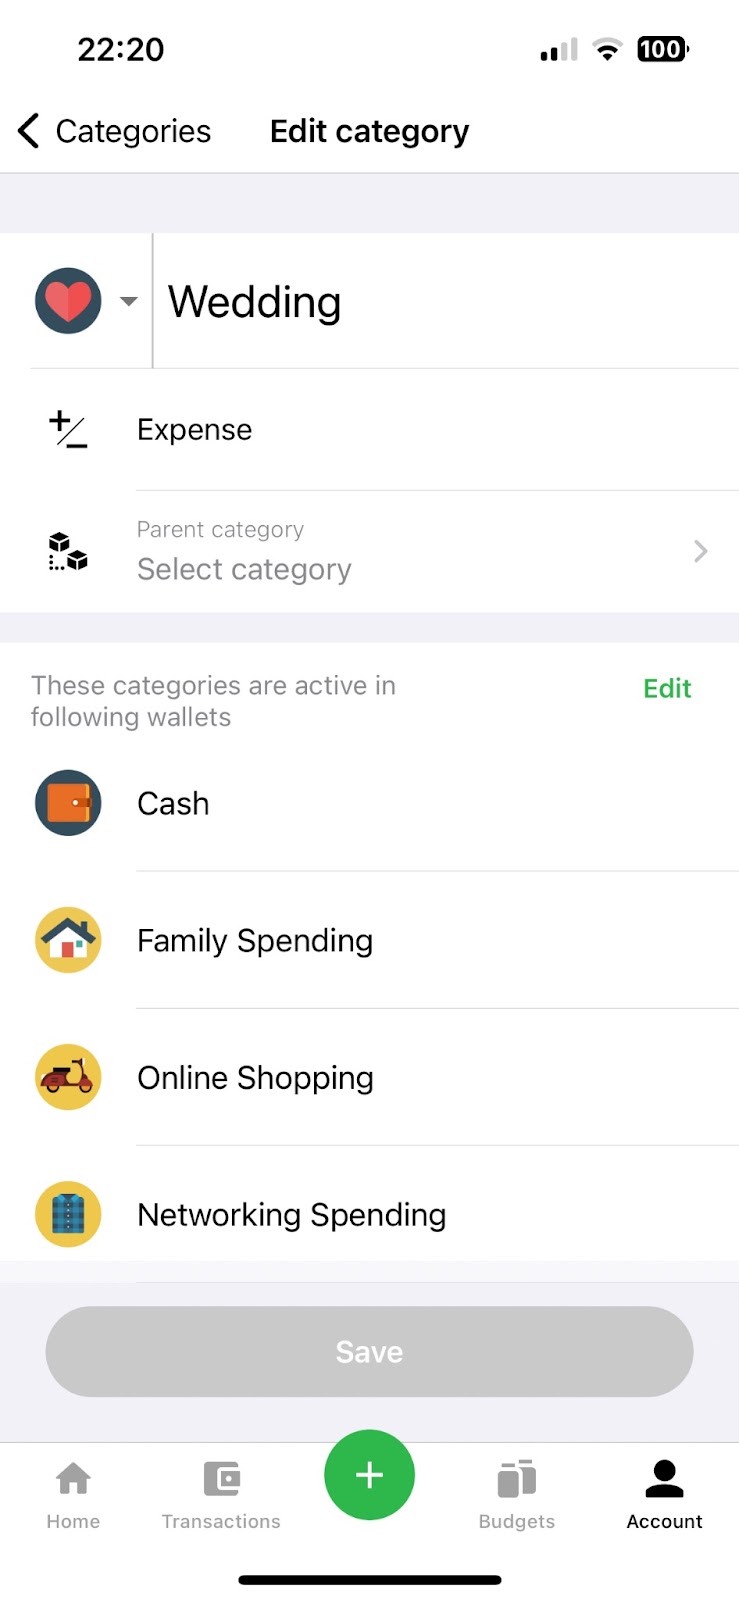
On the "Edit category" screen, select the "Edit" button in the "These categories are active in following wallets" section.
Step 2: Change the active/inactive status of the category in the wallet
On the "Active in wallets" screen, you can switch On/Off button next to each wallet to change the active/inactive status of that category in the wallets. Green means the category is active in that wallet, while gray means it's inactive.
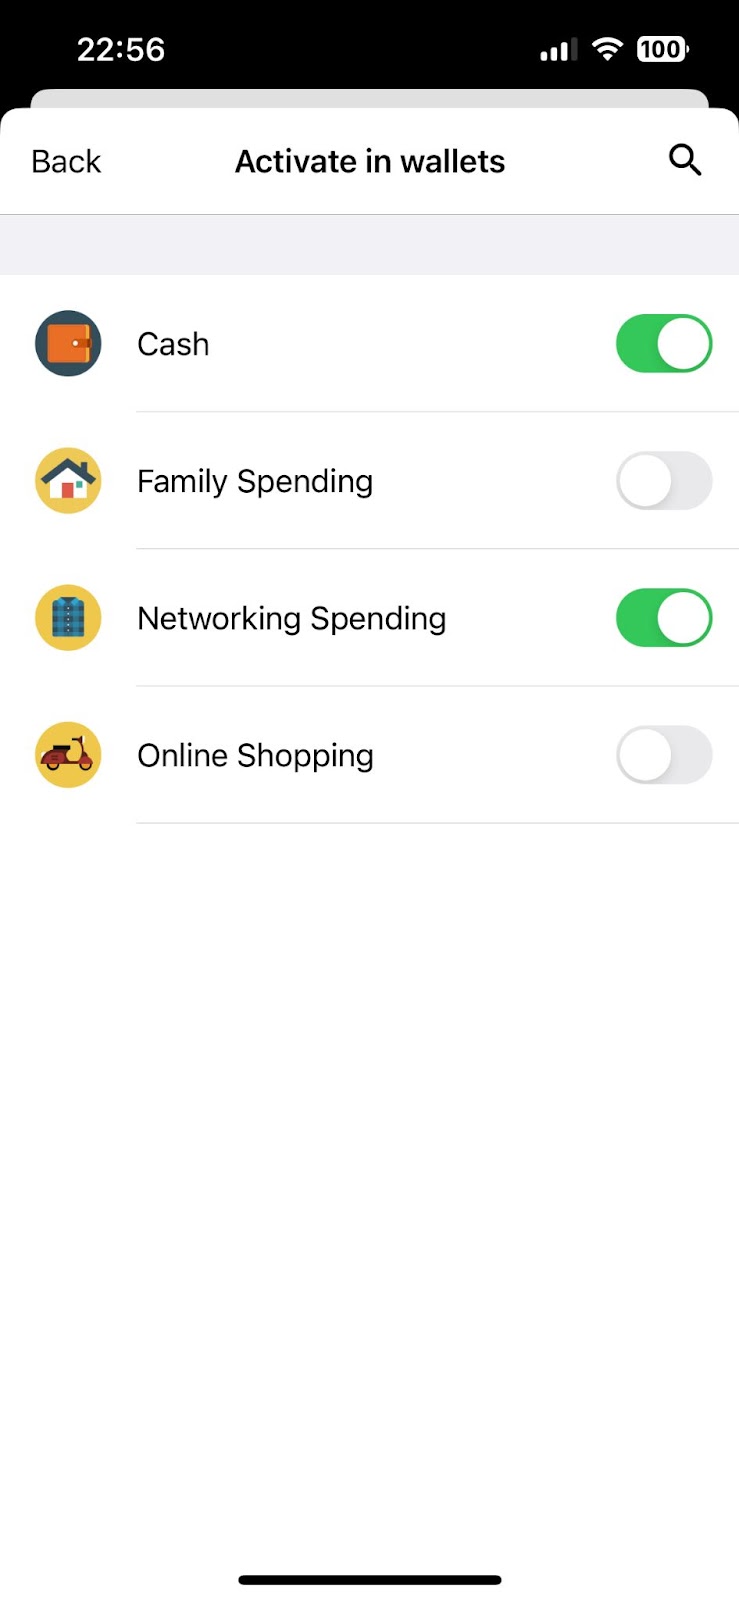
Active vs Inactive wallets within a category.
Moreover, you can also enter the wallet name in the search bar to find it out for more quickly.
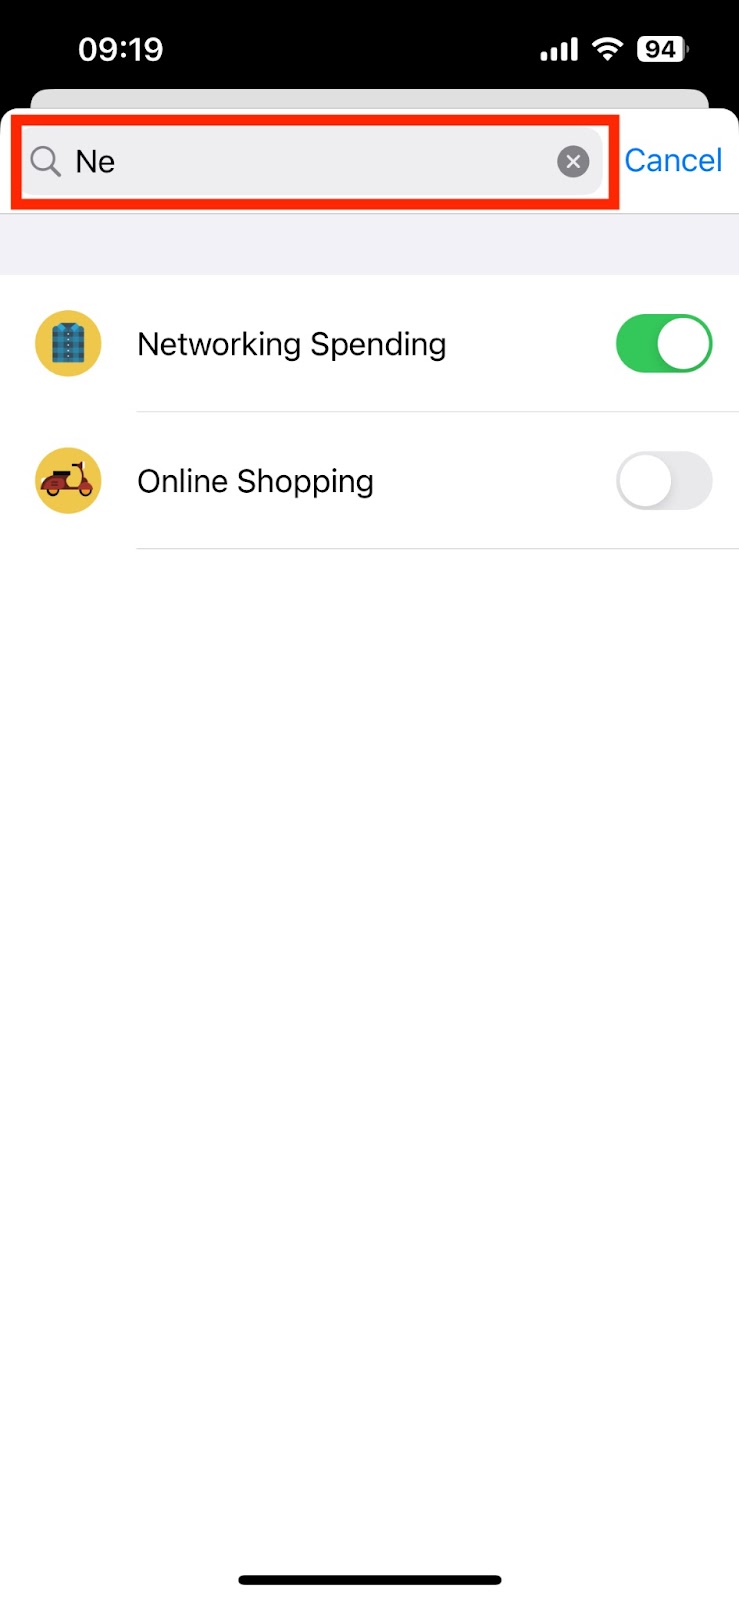
Type in the search bar to find the wallets you need more quickly.
When changing the status of the category's wallet, it'll be auto saved.
Step 3: Check the list of wallets that the category is active in
To check the list of wallets where the category is active, press the back button to return to the Edit Category screen. In the Edit Category screen, the app will only display the list of wallets where the category is active.
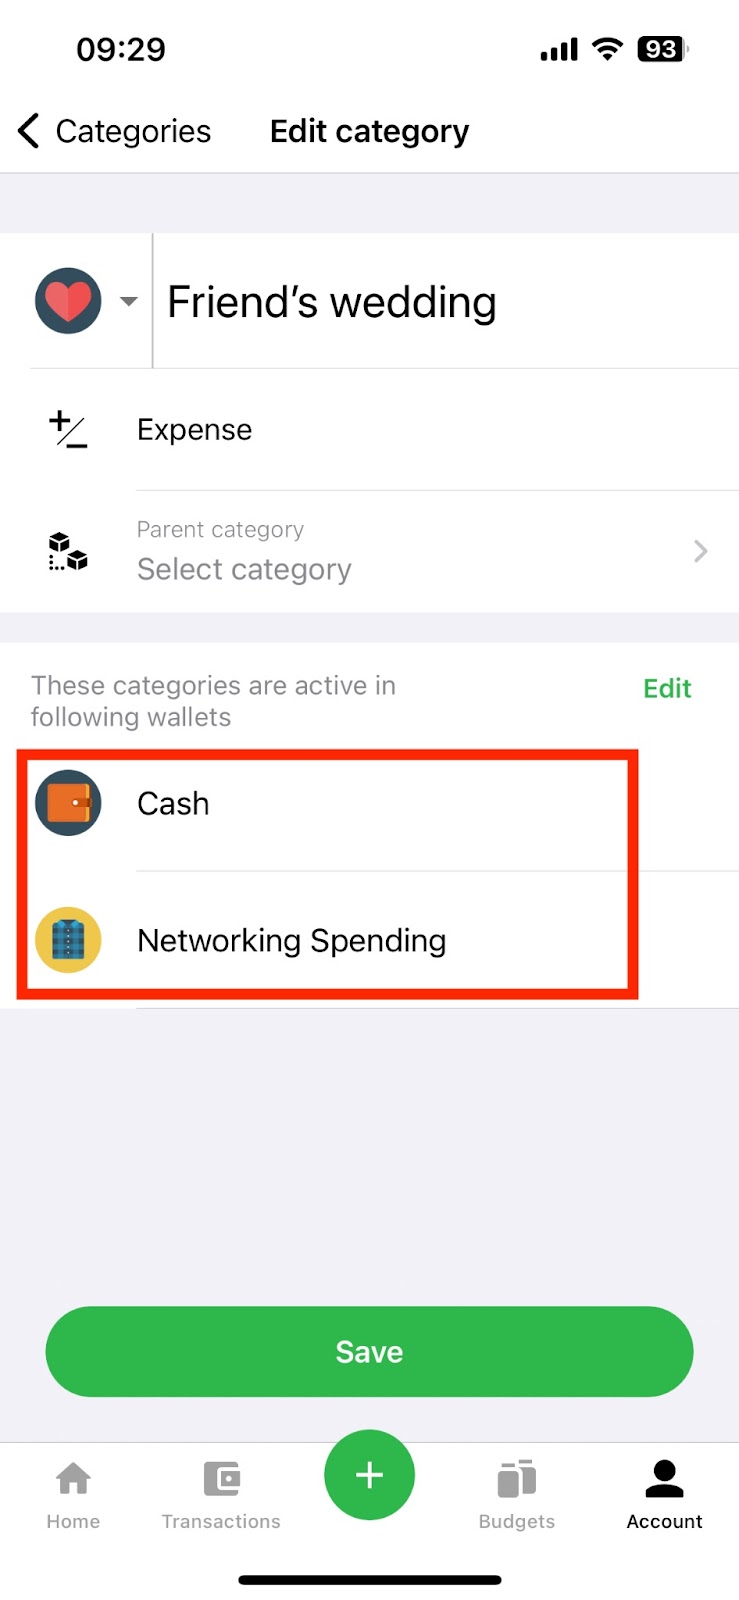
Here is an example of active wallets of "Friend's wedding" category.
V. Viewing transactions by category
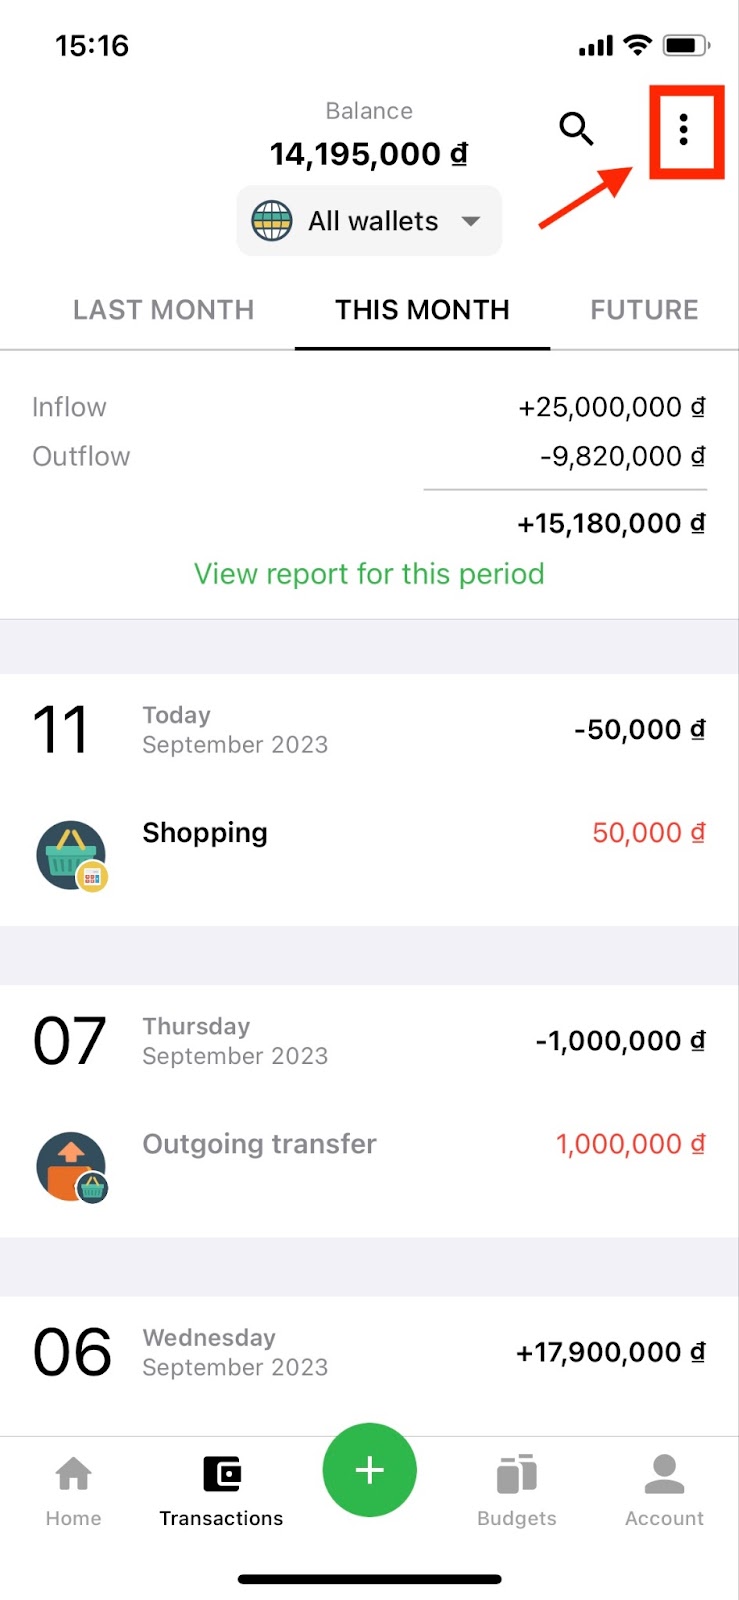
Step 1: Select "View by category" in the Transaction list screen
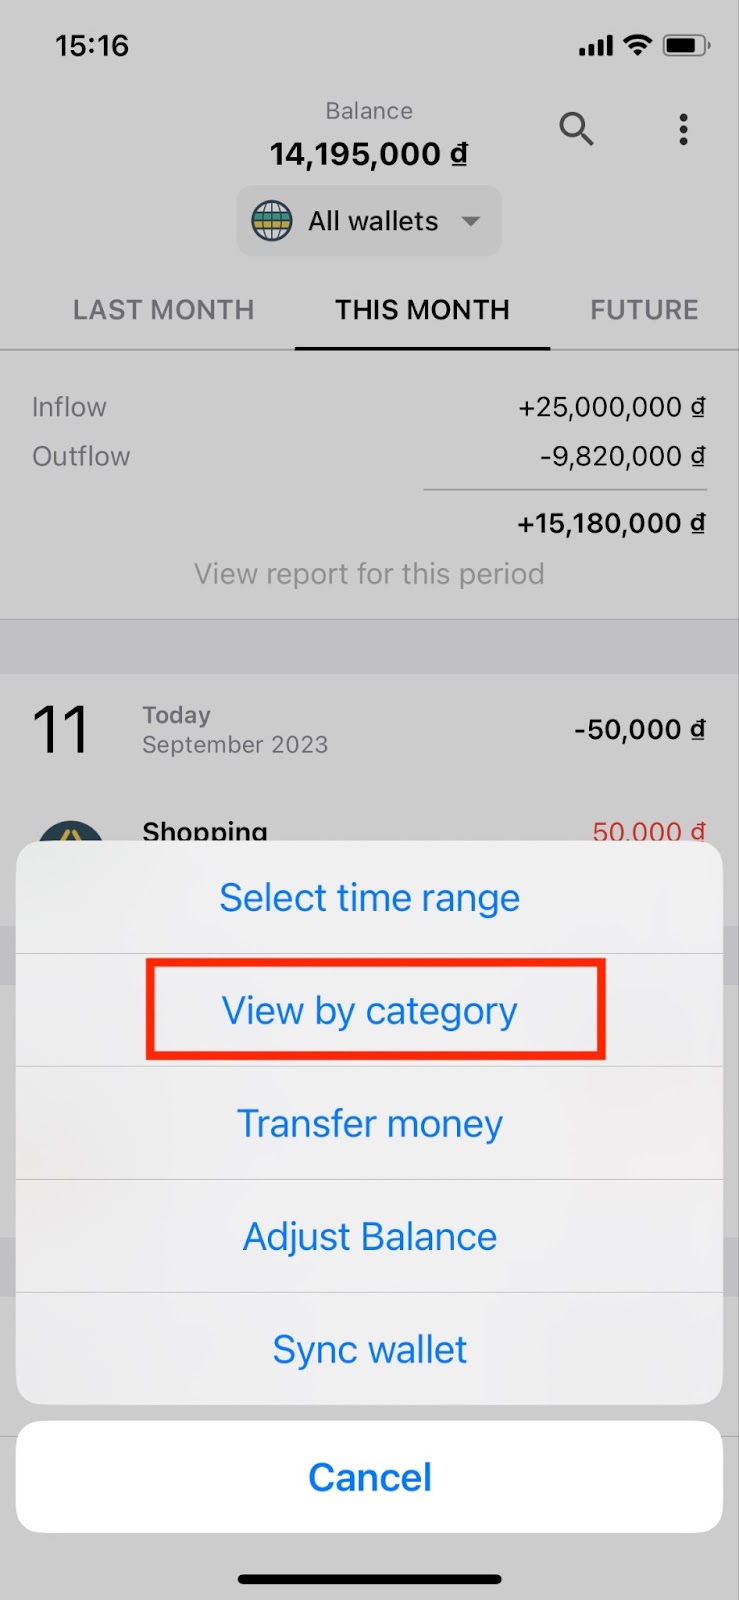
To view transactions by category, go to the Transactions tab to see the Transaction list screen. Then, select the "View more" icon in the top right corner of the screen, and choose "View by Category".
Choose "View by category" option.

Step 2: Track transactions by category
With the Global Category function on version 8.0, when you want to view transactions by category, the Transaction list screen will display all transactions within the same category across all your wallets. This makes it easy for you to track your income and expenses of any categories across all wallets.
That covers everything you need to know about using Categories in Money Lover version 8.0. We hope this helps you manage your finances better! Don't hesitate to reach us at [email protected] if you have any questions. Thank you so much for choosing Money Lover as your financial companion😊.